I've blogged about using SSIS to create text files with dynamic file names before, but there's another scenario that keeps coming up time and again. It looks something like this:
"I need to export data from a database into a text file. I have this working, but I need the text file to have a name that's based on the current date, like MyOutputFilePrefix_YYYY-MM-DD-HH-MM-SS.txt. How do I do this?"
It should come as no surprise that the short answer is "use expressions." Expressions are (in my humble opinion, of course) the single most powerful feature in the SSIS developer's toolbox, and are the primary mechanism for adding dynamic functionality to SSIS packages.
Bur of course "use expressions" doesn't give you all the information you need, so here is a quick walkthrough that shows all of the steps involved.
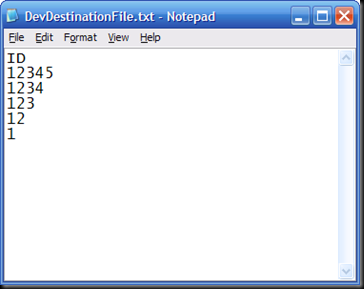
- Start off by creating or locating a flat file that has the format that you need. This will give you a head-start for configuring your Flat File Connection Manager later on. Since I'm working on a simple demo, my text file is appropriately simple:
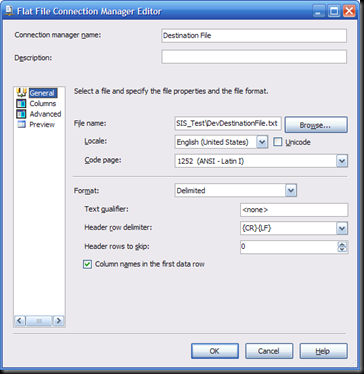
- Next, add a Flat File Connection Manager to your SSIS package, and update its properties to reference the sample flat file you created above:
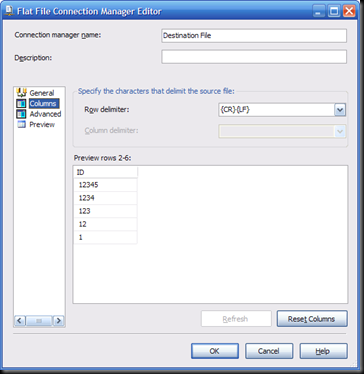
- Make sure that the columns you defined in the file are being parsed correctly:
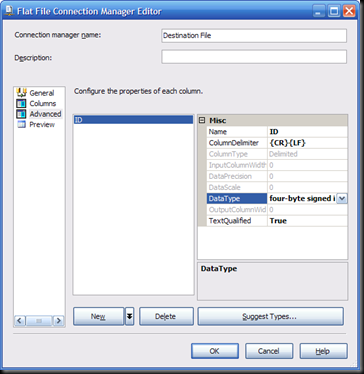
- And update the properties (generally the data type) of the columns as needed. In this scenario, we're setting the data type of the ID column to be a four-byte signed integer:
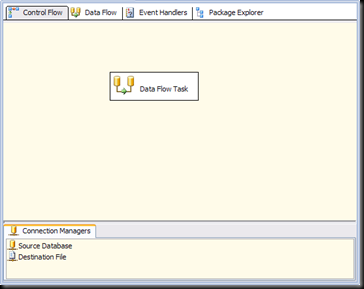
- Next, add an OLE DB Connection Manager (or whatever makes sense for your source database) to your package, configure it as necessary[1], and add a Data Flow task to the package as well:
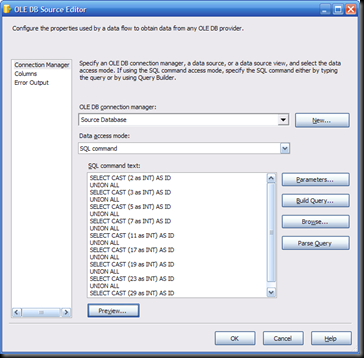
- Inside the Data Flow task, add an OLE DB Source component (or whatever makes sense for your source database) and configure it with your source query:
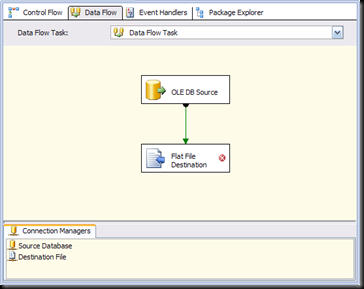
- Next, add a Flat File Destination component to the data flow and connect it to the source component:
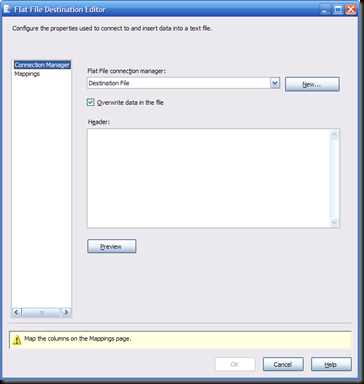
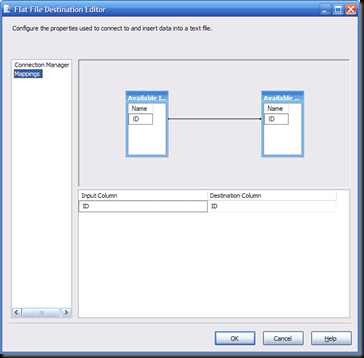
- Configure the Flat File Destination to use the Flat File Connection Manager and ensure that its column mappings are configured correctly:
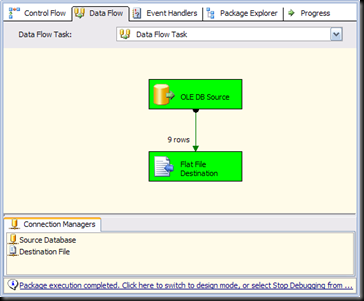
- Run the package to make sure that it works:
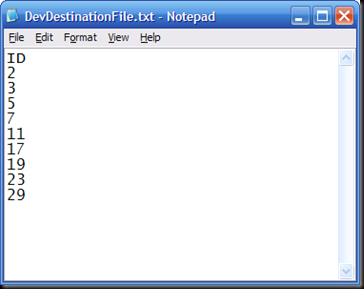
- And test it by checking the contents of the target text file:
- And now we're ready to start. That's right, the last 10 steps were included to show how I got to the starting point for adding the dynamic functionality that is the whole point of the post. What we've done above is set up a simple package and data flow that exports data to a text file, which is (I assume) where the people who keep asking the question at the top of the post are getting stuck. And since we walked through it step-by-step together, everyone can see that there is no prestidigitation involved.
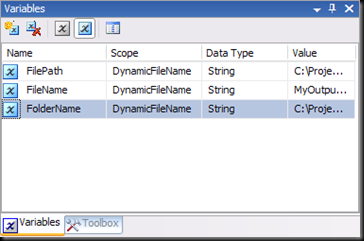
So let's start off by creating three different package variables, Foldername, FileName and FilePath:
- Set the value property of the FolderName variable to the path of the folder where you want your files to be created:
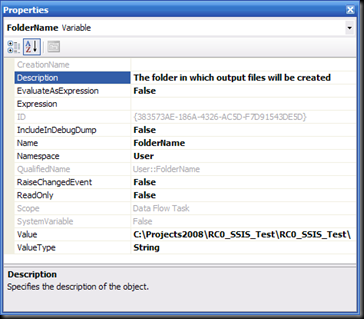
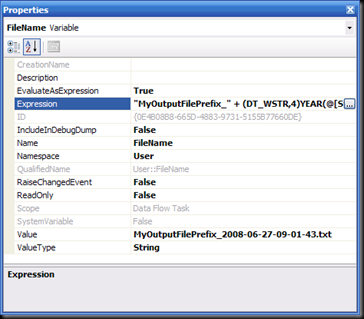
- Set the EvaluateAsExpression property of the FileName variable to True and set the Expression property to this expression:
- Set the EvaluateAsExpression property of the FilePath variable to True and set the Expression property to this expression:
@[User::FolderName] + @[User::FileName]
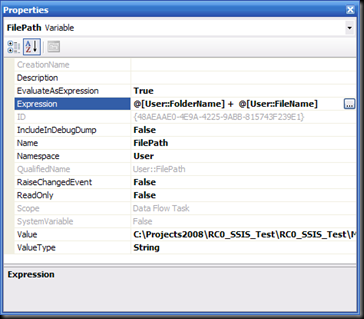
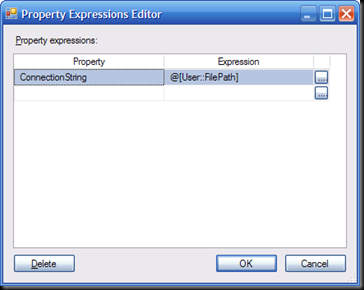
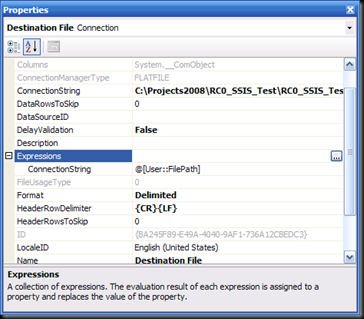
- At this point we have a variable, FilePath, that will always evaluate to a fully qualified file path that is dynamically updated to reflect the time the package started executing. This is exactly what we need, right? So the one thing that remains to be done is to use this value to create the files being exported by the data flow. And to do this we just need to update the Flat File Connection Manager to base its ConnectionString property on this expression:
@[User::FilePath]
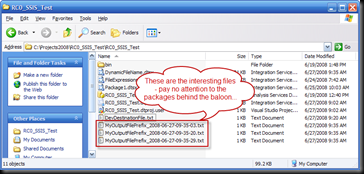
- Then, run the package a few times, and take a look in the output folder:
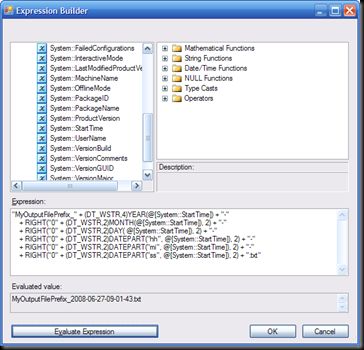
"MyOutputFilePrefix_" + (DT_WSTR,4)YEAR(@[System::StartTime]) + "-"
+ RIGHT("0" + (DT_WSTR,2)MONTH(@[System::StartTime]), 2) + "-"
+ RIGHT("0" + (DT_WSTR,2)DAY( @[System::StartTime]), 2) + "-"
+ RIGHT("0" + (DT_WSTR,2)DATEPART("hh", @[System::StartTime]), 2) + "-"
+ RIGHT("0" + (DT_WSTR,2)DATEPART("mi", @[System::StartTime]), 2) + "-"
+ RIGHT("0" + (DT_WSTR,2)DATEPART("ss", @[System::StartTime]), 2) + ".txt"
This will evaluate to a filename like MyOutputFilePrefix_YYYY-MM-DD-HH-MM-SS.txt, as requested above. [2]
Pretty simple, eh? Once we had the base package (the starting point for the whole exercise) set up, it was simply a matter of setting a few property expressions to make the whole thing work as needed.
It's also worth noting that the technique where there are three variables to contain the file path is completely optional as well - you could just as easily build a single (although admittedly more complex) expression for the ConnectionString property, and skip the variables entirely. I personally prefer having the variables to contain the intermediate values that go into the file path because in most situations there are opportunities for reuse of these intermediate values, and having them stored in variables make that reuse very simple.
And of course, you can easily update the FileName expression as needed to get the file name you require. The SQLIS.com wiki has a page dedicated to date expressions, and I will generally start there whenever I need to write a date expression myself. In fact, you'll probably notice that the expression I used for the FileName variable was blatantly stolen (and then modified just a little) from one of the examples on the SQLIS wiki site.
So once again we've witnessed the power of expressions in SSIS. By setting just a few properties to evaluate as expressions, we've quickly and easily added dynamic functionality to a package. What could be better?
[1] Since the purpose of this post is to focus on the dynamic file name, I'm being deliberately vague here. This is stuff that you should know already, so if you don't, check here: New to SSIS- Start Here!
[2] Although this example is using the @[System::StartTime] variable, you can use any date variable (or function, like GETDATE) for your expressions - use the one that makes the most sense for you.


